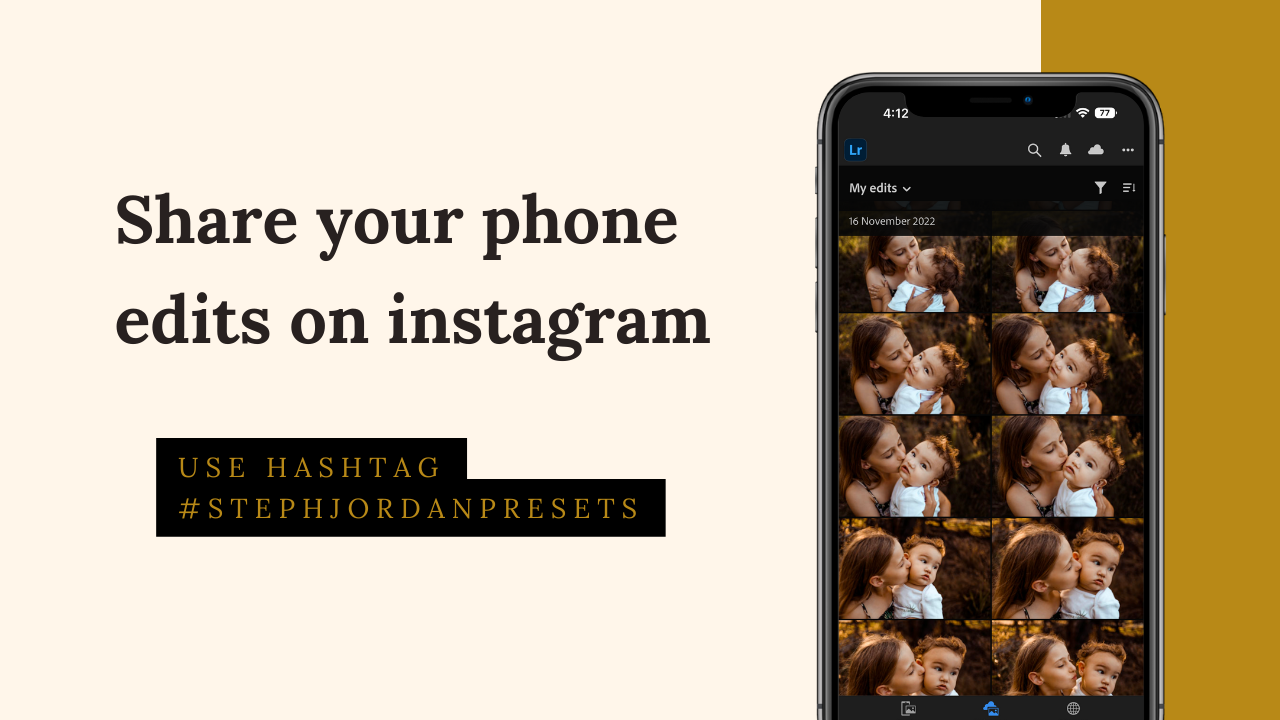
Unleashing Your Creativity: A Guide to Installing and Using My Lightroom Preset Collections on Your Phone
Introduction:
Welcome to the world of effortless photo editing! If you have acquired one of my Lightroom Preset collections, you're in for a treat. In this comprehensive guide, I will walk you through the simple steps to install and use my presets on your phone, allowing you to transform your mobile photography with just a few taps. Get ready to elevate your images and unlock your creative potential as we dive into the world of stunning presets for Adobe Lightroom Mobile.
Step 1: Download Adobe Lightroom Mobile
Before you begin, ensure that you have the Adobe Lightroom Mobile app installed on your smartphone. The app is available for both iOS and Android devices and can be downloaded from the respective app stores.
Step 2: Purchase my Lightroom Preset Collections
Visit my shop here to choose your preset collection. Download the preset files directly to your phone's storage or sync them from your computer if you previously downloaded them there.
Step 3: Import the Presets to Lightroom Mobile
Once the files are on your phone, open the Adobe Lightroom Mobile app. In the Library view, tap on the "+" icon in the upper-right corner, and select "Add Photos." Locate and select the preset files you downloaded.
Step 4: Create a Presets Folder (Optional but Recommended)
For better organization, you may want to create a dedicated folder for your newly imported presets. To do this, click on the three-dot menu icon in the upper-right corner, then choose "Create Folder." Give your folder a name that reflects the preset collection and move the imported presets into it.
Step 5: Apply the Presets to Your Photos
Now comes the fun part! Select a photo you wish to edit with one of my presets. Tap on the photo to open it in Edit mode. At the bottom of the screen, tap on the "Presets" icon (a three-dot stack). Inside your newly created folder (or directly from the imported presets if you didn't create a folder), you'll find your Lightroom presets. Tap on each preset to preview its effect on your photo.
Step 6: Customize and Fine-Tune (Optional)
After applying a preset, you can further fine-tune the photo by adjusting settings like exposure, contrast, saturation, and more. This step is optional, but it allows you to add a personal touch and achieve the perfect look for your image and lighting conditions.
Step 7: Save your edited photo
Once you're satisfied with the edits, tap the checkmark in the upper-right corner to save your beautifully enhanced photo to your camera roll or directly within Lightroom Mobile.
Conclusion:
Congrats on getting those awesome Lightroom Presets up and running on your phone! Now, you've got this sweet toolkit right in your pocket to take your mobile photography to a whole new level. It's like carrying a magic wand for enhancing your pics wherever you go! No matter if you're a seasoned pro or just getting started, my presets make it a total breeze to add mind-blowing effects to your images.
Alrighty, it's time to let loose that creative genius of yours and make your photos look mind-blowing with my super cool Lightroom Presets! Dive right in and have a blast editing – it's gonna be one heck of a ride! Happy snapping, my friend!

